

Are you tired of the same old driveway, patio, or pathway in your outdoor space? Looking for a cost-effective way to enhance the durability and aesthetic appeal of your outdoor surfaces? Look no further! In this DIY block paving installation guide, we will take you through the step-by-step process of transforming your space with block paving.
Block paving has become a popular choice for many homeowners due to its durability and ability to create stunning designs. Whether you want to revamp your driveway, create a stylish patio, or add charm to your pathways, block paving is the perfect solution. But can you really tackle a DIY block paving installation and achieve professional results?
Let’s explore the world of DIY block paving and discover how you can successfully transform your outdoor space with this versatile material. From the materials and tools you’ll need to the design options and maintenance tips, we’ve got you covered. So, are you ready to take on the challenge? Let’s dive in!
Planning and Preparation for DIY Block Paving Installation
Planning and preparation are crucial steps in a DIY block paving installation project. Before starting, it is important to measure the area you want to pave and create a rough design to estimate the number of pavers and materials you’ll need.
Gathering the necessary materials such as pavers, sand, edge restraints, and tools is essential for a successful installation.
Let’s begin with block paving measurement. Use a tape measure to accurately measure the dimensions of the area you wish to pave.
Take into account any curves or irregularities in the space, as this will affect the quantity and layout of the pavers.

Once you have the measurements, create a block paving design. This can be a simple sketch or layout that helps visualise the arrangement of pavers. It will also assist in calculating the required materials and identifying any additional features such as patterns or borders.
Next, gather the block paving materials. Visit reputable suppliers like Block Paving Bingham to ensure you have high-quality pavers and other necessary components. Consider the durability and aesthetic appeal of the materials, keeping in mind the desired longevity and visual impact of your project.
Aside from the pavers, you’ll also need block paving sand to create a stable and level surface. Sand acts as a bedding material, providing a cushion for the pavers and allowing for adjustments during installation.
Don’t forget about block paving edge restraints. These are essential for holding the pavers in place and preventing movement or shifting over time. Common options include concrete or plastic edging, which can be easily installed along the perimeter of the paved area.
Lastly, gather the necessary block paving tools. These include a shovel for excavation, a wheelbarrow for transporting materials, a tape measure for accurate measurements, a broom for cleaning, and a rubber mallet for compacting the pavers into position.
Once you have everything ready, you’re all set to move on to the next steps of the installation process. With careful planning and preparation, your DIY block paving project is off to a great start. Now let’s dig deeper into the installation steps and finishing touches to achieve a stunning result.
DIY Block Paving Installation Steps and Finishing Touches
The DIY block paving installation process consists of several important steps that will help you achieve a professional-looking result. By following these steps and paying attention to details, you can transform your outdoor space into a beautiful paved area. Let’s dive into the installation process:
- Excavation: Start by excavating the area where you want to install the block paving. Remove any existing surfaces, such as concrete or gravel, to create a clean and level base for your project. This step is essential to ensure the stability and longevity of the paved surface.
- Base Layer: After excavation, it’s time to create a solid base layer. Lay down a geotextile membrane to prevent weed growth and establish a barrier between the ground and paving materials. Then, add a layer of crushed stone or MOT Type 1 and compact it thoroughly. This base layer provides stability and helps with proper drainage.
- Edge Restraints: Install edge restraints along the perimeter of the paved area. These restraints help keep the pavers in place and prevent them from shifting over time. Choose sturdy materials, such as concrete or metal, and secure them firmly into the ground. This step ensures the structural integrity of your block paving project.
- Sand Bed: Next, create a sand bed on top of the base layer. Spread a layer of sharp sand evenly across the area using a rake or screeding board. The sand bed will provide a smooth and level surface for laying the pavers.
- Paver Installation: Now it’s time to lay the pavers. Start from one corner and work your way across, following your desired pattern or design. Make sure to fit the pavers snugly together, leaving small gaps for jointing sand. This step requires precision and attention to detail to achieve a visually appealing result.
- Cutting: When reaching the edges or corners of your paved area, you may need to cut the pavers to fit properly. Use a diamond blade saw to make clean and accurate cuts. It’s important to measure carefully and wear protective gear during this step.
- Sanding: After laying the pavers, fill the gaps between them with fine sand. Use a broom to sweep the sand into the joints, ensuring they are fully filled. This helps stabilise the pavers and prevents weed growth. Make sure to brush off any excess sand from the surface of the pavers.
- Compaction: To ensure a solid and stable paved surface, use a plate compactor to compact the entire area. This will help settle the pavers into the sand bed and create a level surface. Compact the area in multiple directions for optimal results.
- Sealing: While optional, sealing your block paving can enhance its appearance and provide extra protection against stains and weed growth. Choose a suitable sealer for your specific paving type and follow the manufacturer’s instructions for application. Regular resealing may be necessary to maintain the longevity and appearance of your block paving.
- Maintenance: To keep your block paving looking its best, regular maintenance is essential. Sweep the surface regularly to remove debris and prevent the buildup of dirt and weeds. If necessary, recompact the paved area to maintain its stability. Promptly address any issues, such as cracked or loose pavers, to prevent further damage and ensure the longevity of your installation.
By following these DIY block paving installation steps and finishing touches, you’ll be able to create a stunning and durable paved area that enhances the beauty and functionality of your outdoor space.
Conclusion
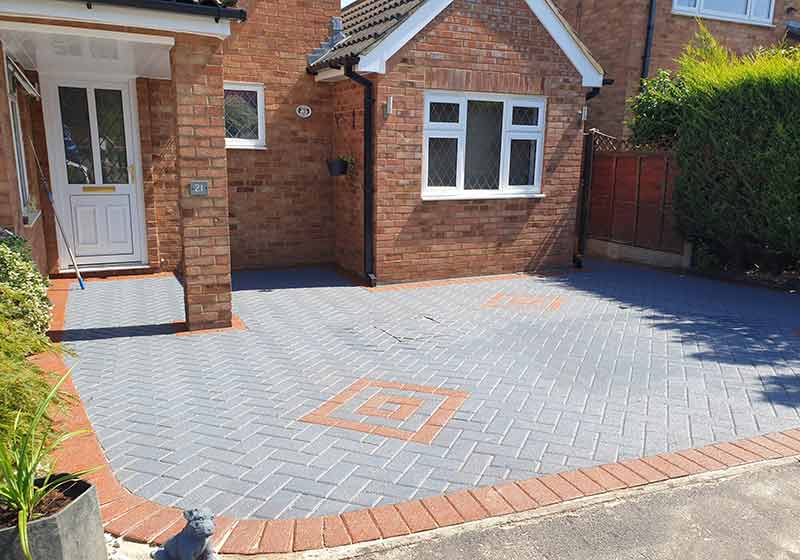
In conclusion, embarking on a DIY block paving installation project can bring you immense satisfaction while transforming your outdoor space into a stunning haven.
By following the proper planning and preparation steps and executing the installation process with care, you can achieve professional-looking results that will leave you feeling proud.
Take your time to measure the area accurately, design your layout, and gather all the necessary materials and tools.
Whether you’re paving a driveway, patio, or pathway, attention to detail is key to success.
Maintaining your newly paved area is essential for its longevity and aesthetics.
Regularly sweeping the surface and keeping it clean from debris will ensure its lasting beauty. Consider recompacting the paving if needed and, for an enhanced look, explore the option of sealing the block paving.
With the insights and tips provided in this DIY block paving installation guide, we hope you feel empowered to take on this project with confidence and achieve the utmost satisfaction. Transform your outdoor space into a welcoming environment that reflects your style and enhances the overall appeal of your property. For professional and durable block paving solutions, consider Block Paving Bingham.
Call us to get a price quote on a block paving. Contact us today on 07595 510190 to receive a free quote or visit our website.
Source Links
- https://www.marshalls.co.uk/gardens-and
-driveways/blog/how-to-lay-block-paving - https://www.pavingexpert.com/bpvseq01
- https://medium.com/@habibamin0103/
diy-block-paving-installation-guide-aabf993a1a45

In the realm of block paving, the presence of a soakaway is a matter of significant consideration. Like an invisible Read more

Keeping your block paving free from weeds is essential for maintaining a pristine and inviting outdoor space. We all want our driveways Read more
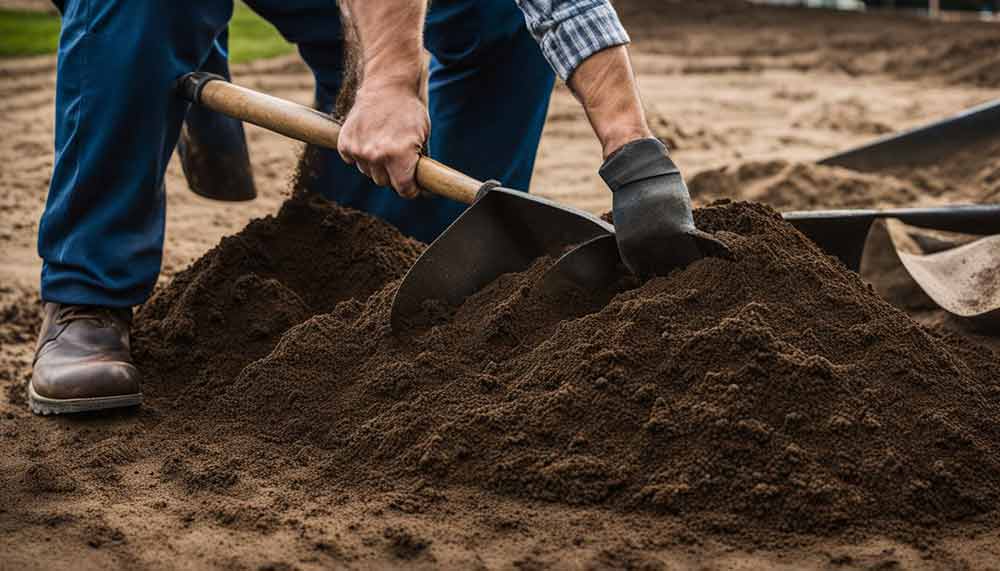
Block paving is a popular and durable choice for driveways and patios. However, proper ground preparation is crucial to ensure a long-lasting and Read more